Thursday, November 12, 2020

Unboxing: My First Taobao Haul!

Finally I gave a try on Taobao in the midst of this pandemic. I had chosen sea shipment this round and the shipping  took me around 3 weeks. I received this huge parcel on the first day the reimplementation of CMCO, haha! 


I purchased around 30 items on this small try, but in this post, I will only share some of my cute picks from Taobao


Little daisy design is a new trend in 2020. I have chosen this crop top because purple is very sweet and quite trendy recently. I like the little daisy embriodery so much! The fabric quality and the cutting also did not disappoint me! However, this crop top is quite short for me, but is a good choice for those who like short crop tops. 

Underarm bags are also on trend this year. The reason I chose this white underarm bag is because of the chain design on the strap. The quality of the material is also very good, which is the PU leather, but the sewing of the zip is slightly imperfect. However, it is quite okay to me at this cheap price. 


This purple top is just a simple and casual T-shirt with a strawberry logo. I bought it because of the good ratings. The fabric is also cotton, so it is comfortable to be wore for any occasions. Yup, I am satisfied with this top. 

The black pants is with high waist and wide leg design so you will look slim in this pants. This pants can be matched with different kinds of tops. The material is quite thin but it does hold the wide leg shape. But I will not recommend to take white colour. 

Cute bucket hats are taking over the trend right now.  They can be matched with sweaters, dresses, T-shirts and basically any outfit. The design of this hat is quite okay, at least I do not look weird in it. 


This beautiful blue white top is eye catchy. I fall into it at first sight. However, the sleeve material is very thin, I was always afraid that I might break it. The cutting is also quite short, so I am not very satisfied with this blouse. 

I like the pearl hair band so much! It is only at a very cheap price but the quality is so good. I bought two designs, medium sized pearl and small sized pearl. The hairband is not too tight to wear it for the whole day. 


This baby blue long sleeve dress is very European style. I love the big collar, the ribbon and the ruffle design on the sleeves. The material is a little thick, so might feel hot under the hot sun. 

Big ribbon hairclip is a new fashion in 2020 brought by some celebrities, like Lisa from Blackpink. I took four colour, which are red, black, dark blue and pink. In this outfit, I used a black one. 

The black underarm bag is same as the white one mentioned above. 

So these are what I would like to share in this post. Stay tuned for my next unboxing! 

For video version, please click here

Saturday, November 7, 2020

Baking Diary: Happy Grizz Chocolate Cake for My Boyfriend

My boyfriend's birthday was around the corner, so I decided to make one of his favourite cakes, chocolate cake. I struggled for a long time on the design of the cake. He likes Manchester United, but it is too hard for me to draw out the logo. At last, I had chosen the design of Grizz from We bare bears, which is not too simple yet is easy to handle. 


First, I made a chocolate sponge cake as the base. 

To make a chocolate sponge cake, you will need: 

Ingredient (A)
  • 4 egg yolk (room temperature)
  • 1/4 tsp salt
  • 50g caster sugar
  • 50g corn oil
  • 70ml milk (i use full cream milk)
  • 100g superfine flour
  • 20g cocoa powder/chocolate powder
  • 1 tsp baking powder
  • 1/4 tsp baking soda

Ingredient (B)
  • 4 egg white (room temperature)
  • 1/2 tsp cream of tartar
  • 60g caster sugar

This recipe is for a 9-inch round cake. Line the cake pan with parchment paper beforehand. 


1. Mix the egg yolks with salt and caster sugar until the mixture is creamy. Then add corn oil and milk to the mixture, beat well after each addition.

2. Mix all the dry ingredients (superfine flour, chocolate powder, baking powder, baking soda) and shieve them into the egg yolk mixture. Then set it aside. 

3. Moving to Ingredients B, use low speed to beat until the egg white is bubbly. Add cream of tartar to the egg white and continue beating. The, add caster sugar in three additions. Whip until they reach stiff peaks. Watch these stages carefully, because if you over-beat the egg whites, the stretched protein will break and let the water in the whites out, creating a really unappetizing mix of eggy water and foam. 

4. Transfer the egg white mixture into egg yolk mixture in three additions. Gently fold them using a spatula after each addition. After mixing well, transfer the final mixture into the cake pan. Gently tap the cake pan on the table to remove big air bubbles. 

5. Bake the cake in the oven at 160°C for 25 minutes, then continue baking at 180°C for 15 minutes. remember to preheat the oven beforehand. 

6. Place the cake upside down on a wire rack after it is done. Remove the parchment paper and leave it cool. 


After that, I used a wire cake slicer to slice the cake into three parts. I turned the bottom piece upside down so that the cake will have a flat base. 


Next, time to prepare the frosting cream! To make the cream, I whipped 500ml whipping cream with 100g icing sugar and 1 tsp of vanilla essence. The cream was done when they were whipped until stiff peaks. To make it chocolate colour, I added some chocolate colouring and folded with a spatula to avoid overbeating. 


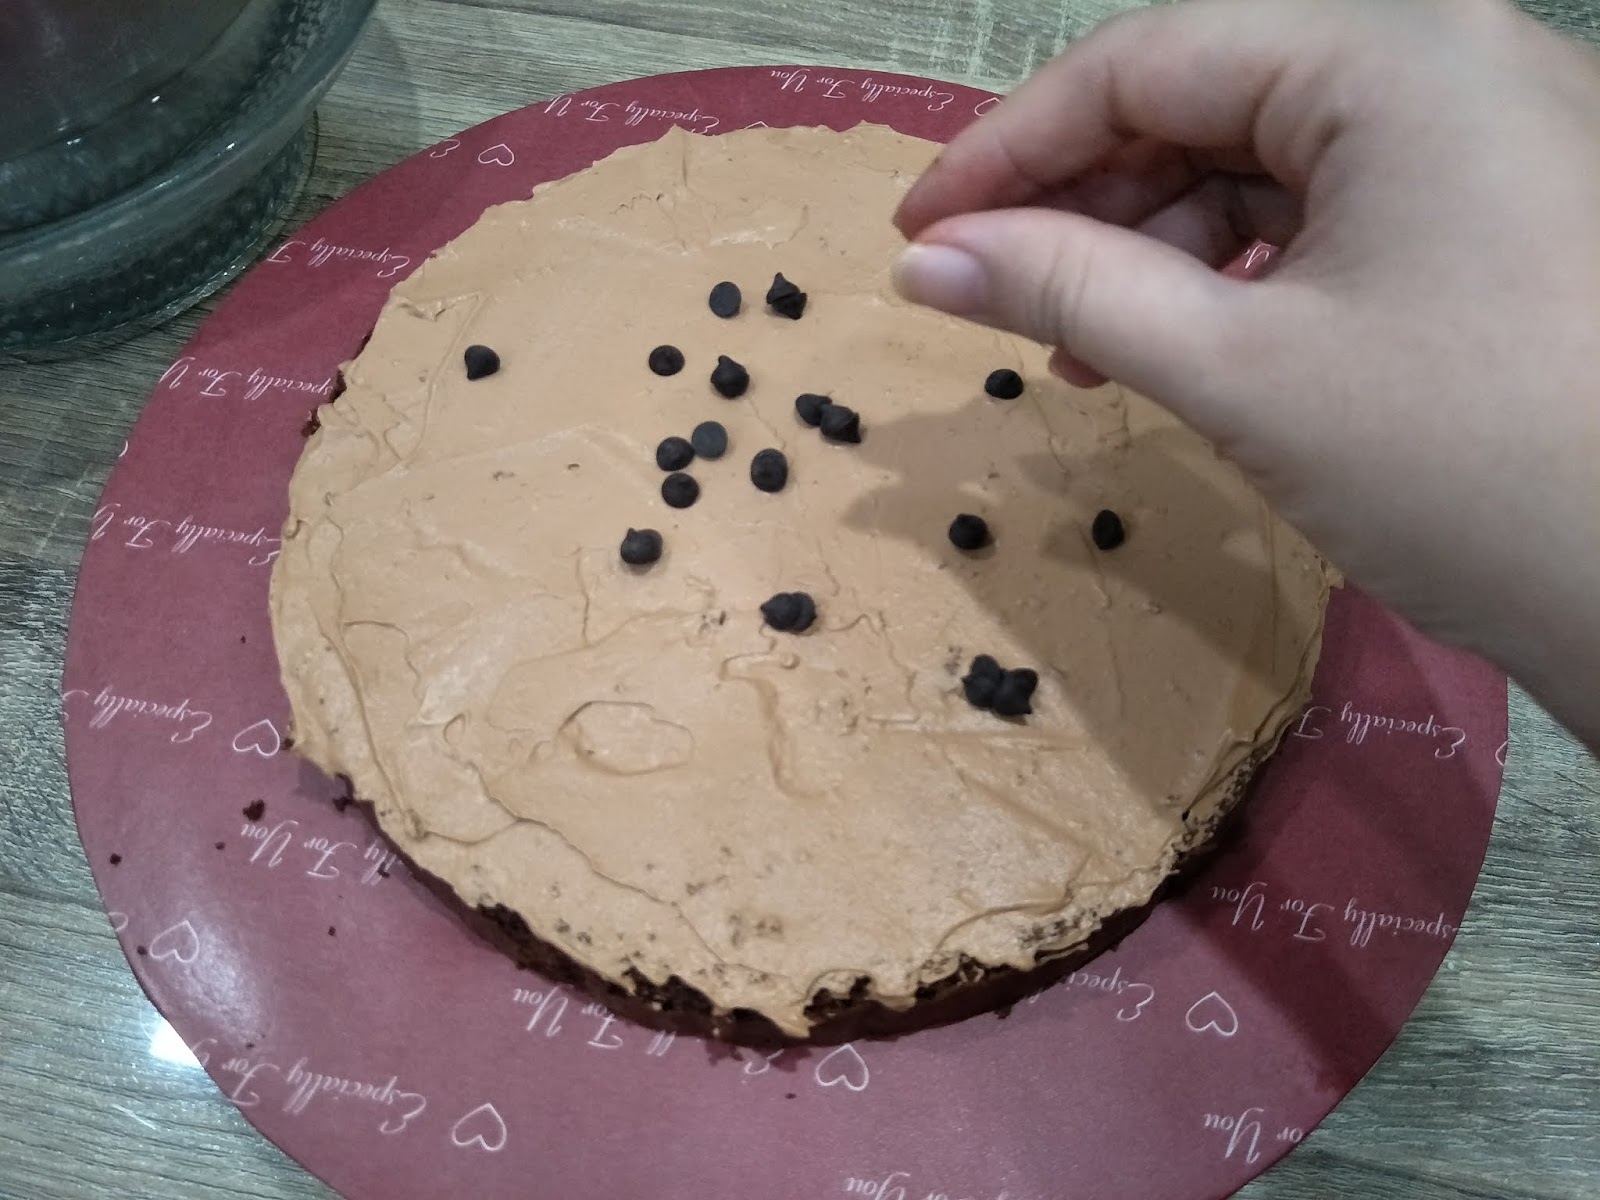
I sprinkled a generous amount of chocolate chips on each layer after spreading a thick layer of cream. Finally, I covered the whole cake with a thick layer of cream and spreaded it evenly and smoothly with a frosting knife. 


I also decorated the bottom edge of the cake with some piping design and pearl icings.


Lastly, I figured out the face of Grizz bear with some chocolate pieces moulded a day before. 


Tadaa... The Happy Grizz chocolate cake is done! My boyfriend couldn't believe that I made this cake, haha! Glad that he liked it so much~ :P


Monday, June 1, 2020

Baking Diary: Moist Banana Pound Cake

Banana cake is always my mum's favorite dessert. There's three ripe bananas left in the kitchen, so I decided to turn them into a banana cake. The recipe I referred to is from Brian cuisine. 


However, to enhance the fragrance and flavor of banana, you may cut your bananas into pieces, seal them in a fresh zipper and refrigerate them overnight. By doing this, the amount of isoamyl acetate will be doubled and the browning reactions will be speed up. 


To make this pound cake, you will need: 

Rippened bananas        350g
Caster sugar                 100g
Brown sugar                 70g
Salt                               1/2 teaspoon
Eggs                             2
Unsalted melted butter 55g
All purpose flour          220g
Baking soda                 1 teaspoon


Firstly, mash the bananas then transfer them into a large mixing bowl. Make sure those bananas are spotty before you mash it. More brown spots = sweeter, more banana flavor. 


Next, add white sugar, brown sugar and salt into the mashed bananas. The combination of white sugar and brown sugar is the essence of this recipe, because the brown sugar leaves the cake even more moist. 


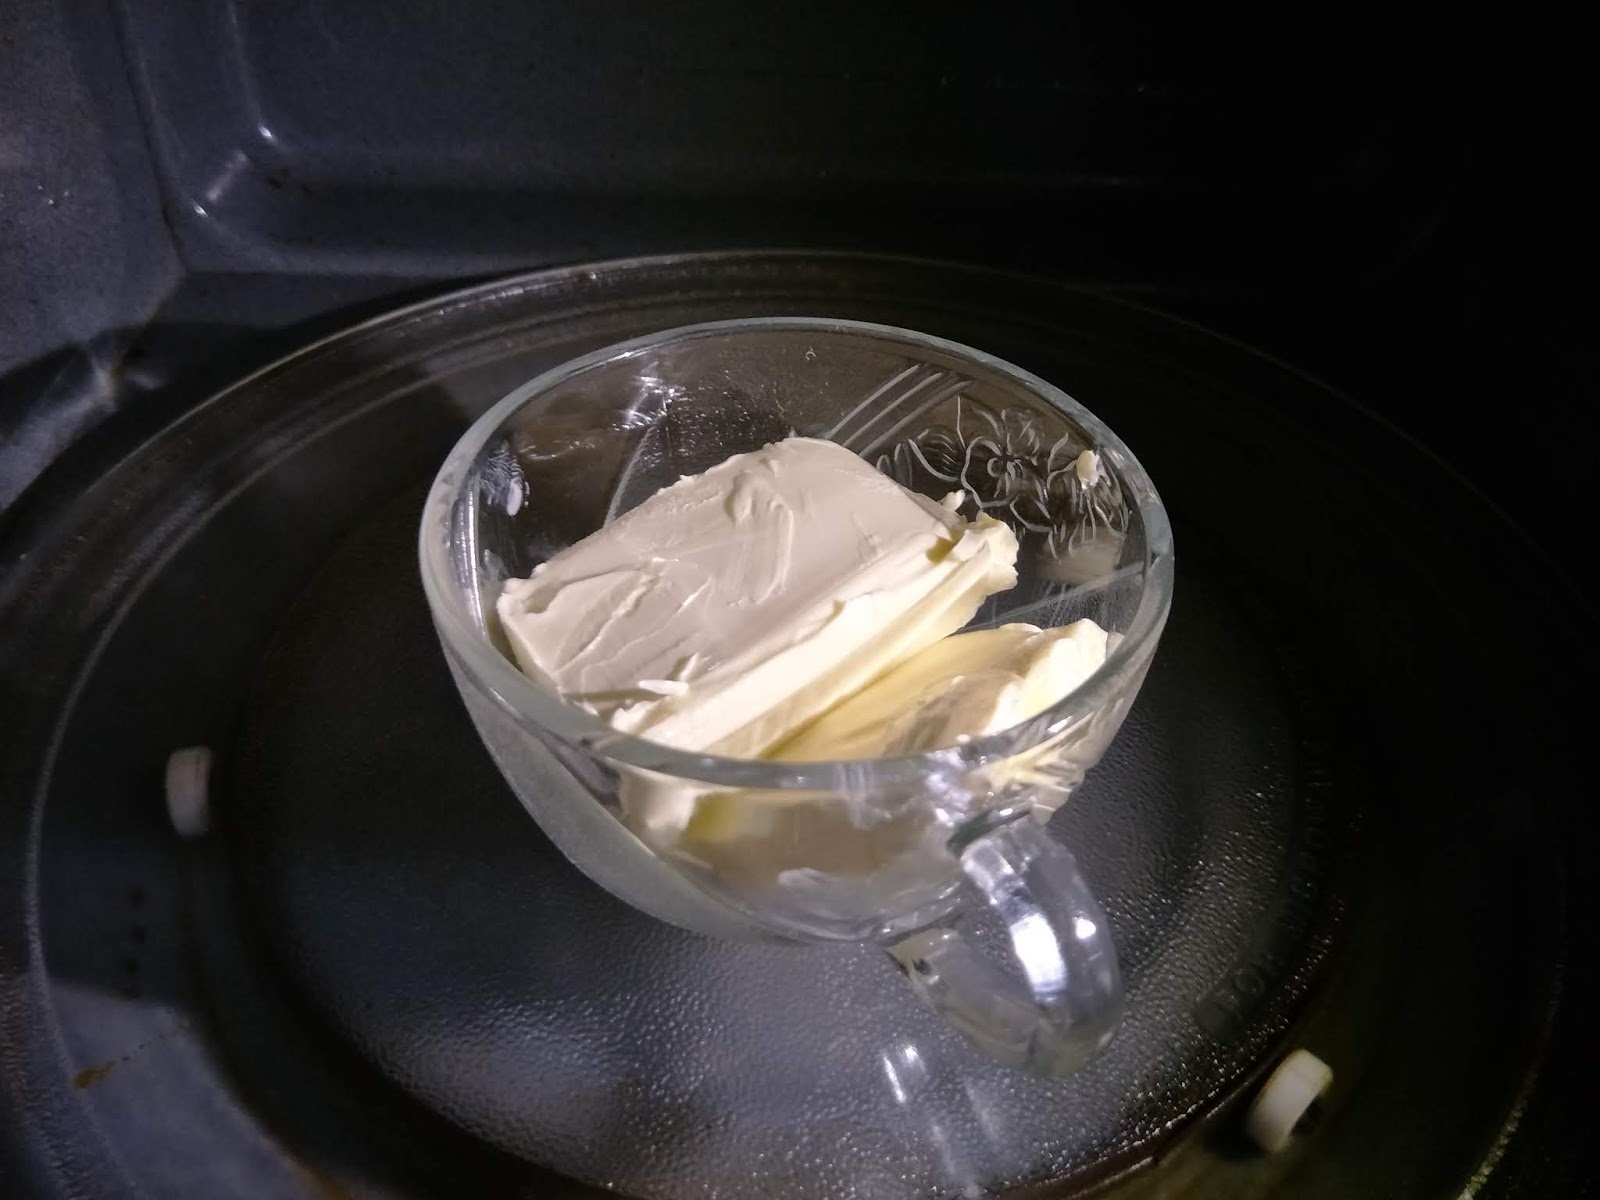
Add melted butter into the mixture and mix well. You can melt the butter in a microwave for 1 min + 30 seconds + 30 seconds. Be careful, overheat the butter may break your bowl or cup. 


After that, add the egg mixture and mix well. Remember to beat the eggs beforehand. 


Next, let's prepare the dry ingredients. Add the baking soda into the flour and slightly mix them together. Then, sieve them into the mixture and gently fold the mixture with a spatula. 
Gentle reminder: Don't over mix during this step or else your cake won't rise well. 


Fold it until you can't see lumps of flour. Lastly, pour the final mixture into a 8 inch or 9 inch rectangular cake tray. Line the tray with parchment paper before this. 


Too much air in the batter will create holes and cracks in the finished product. To help avoid of air bubbles, tap the tray on the table a few times after filling it with batter. 


Before putting the tray into the oven, wet a butter knife with some water and draw a line across the surface of batter to make the finished product rise in the middle nicely. Then, bake it in the oven at 180°C for 50 minutes. 


After 50 minutes, the cake is done! I like the texture of the cake. Fluffy, fragrance and moist. The perfect match with a cup of English tea. For cheese lovers, you may spread some cream cheese on the slices. 


That's all for what I would like to share. This is a great way to settle your overripe bananas and the whole process only took me half an hour. Have a try!