Monday, June 1, 2020

Baking Diary: Moist Banana Pound Cake

Banana cake is always my mum's favorite dessert. There's three ripe bananas left in the kitchen, so I decided to turn them into a banana cake. The recipe I referred to is from Brian cuisine. 


However, to enhance the fragrance and flavor of banana, you may cut your bananas into pieces, seal them in a fresh zipper and refrigerate them overnight. By doing this, the amount of isoamyl acetate will be doubled and the browning reactions will be speed up. 


To make this pound cake, you will need: 

Rippened bananas        350g
Caster sugar                 100g
Brown sugar                 70g
Salt                               1/2 teaspoon
Eggs                             2
Unsalted melted butter 55g
All purpose flour          220g
Baking soda                 1 teaspoon


Firstly, mash the bananas then transfer them into a large mixing bowl. Make sure those bananas are spotty before you mash it. More brown spots = sweeter, more banana flavor. 


Next, add white sugar, brown sugar and salt into the mashed bananas. The combination of white sugar and brown sugar is the essence of this recipe, because the brown sugar leaves the cake even more moist. 


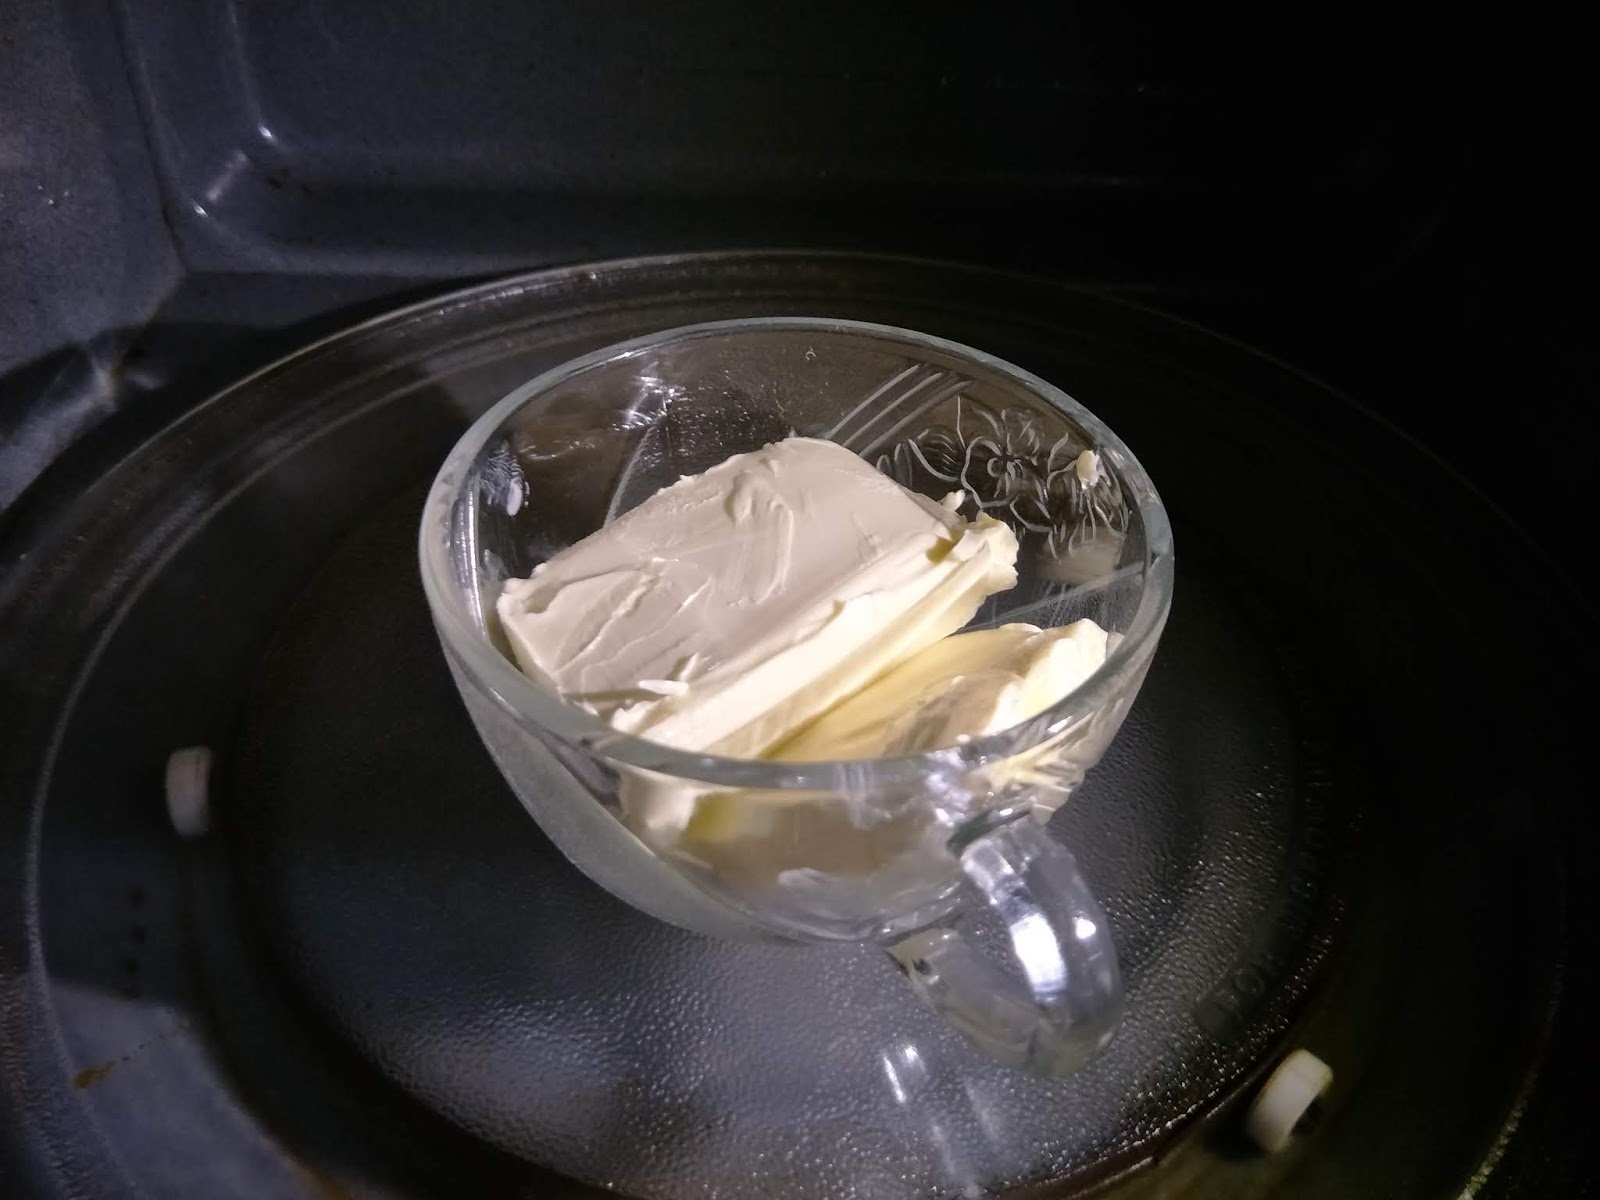
Add melted butter into the mixture and mix well. You can melt the butter in a microwave for 1 min + 30 seconds + 30 seconds. Be careful, overheat the butter may break your bowl or cup. 


After that, add the egg mixture and mix well. Remember to beat the eggs beforehand. 


Next, let's prepare the dry ingredients. Add the baking soda into the flour and slightly mix them together. Then, sieve them into the mixture and gently fold the mixture with a spatula. 
Gentle reminder: Don't over mix during this step or else your cake won't rise well. 


Fold it until you can't see lumps of flour. Lastly, pour the final mixture into a 8 inch or 9 inch rectangular cake tray. Line the tray with parchment paper before this. 


Too much air in the batter will create holes and cracks in the finished product. To help avoid of air bubbles, tap the tray on the table a few times after filling it with batter. 


Before putting the tray into the oven, wet a butter knife with some water and draw a line across the surface of batter to make the finished product rise in the middle nicely. Then, bake it in the oven at 180°C for 50 minutes. 


After 50 minutes, the cake is done! I like the texture of the cake. Fluffy, fragrance and moist. The perfect match with a cup of English tea. For cheese lovers, you may spread some cream cheese on the slices. 


That's all for what I would like to share. This is a great way to settle your overripe bananas and the whole process only took me half an hour. Have a try! 

Friday, May 8, 2020

Baking Diary: No-Bake Lemon Cheesecake

I took this chance of staying at home to make a lemon cheesecake. My dad used to make it for us in the past. A delicious lemon cheesecake with a crunchy biscuit base, fresh lemon zest and juice. This no-bake lemon cheesecake recipe is creamy and is such a great dessert in a hot weather! 


Baking Tips:
  • Recommend Philadelphia brand cream cheese. 
  • Keep the cream cheese at room temperature. (Take out from the fridge an hour before)
  • Keep the whipping cream chilled. 
  • Beat the whipping cream at low speed in the beginning, change to high speed when it becomes thick, don't over beat. 
  • Gently fold the whipped cream into the cheesecake filling, so that it doesn’t deflate.
Philadelphia cream cheese isn't actually from Philly


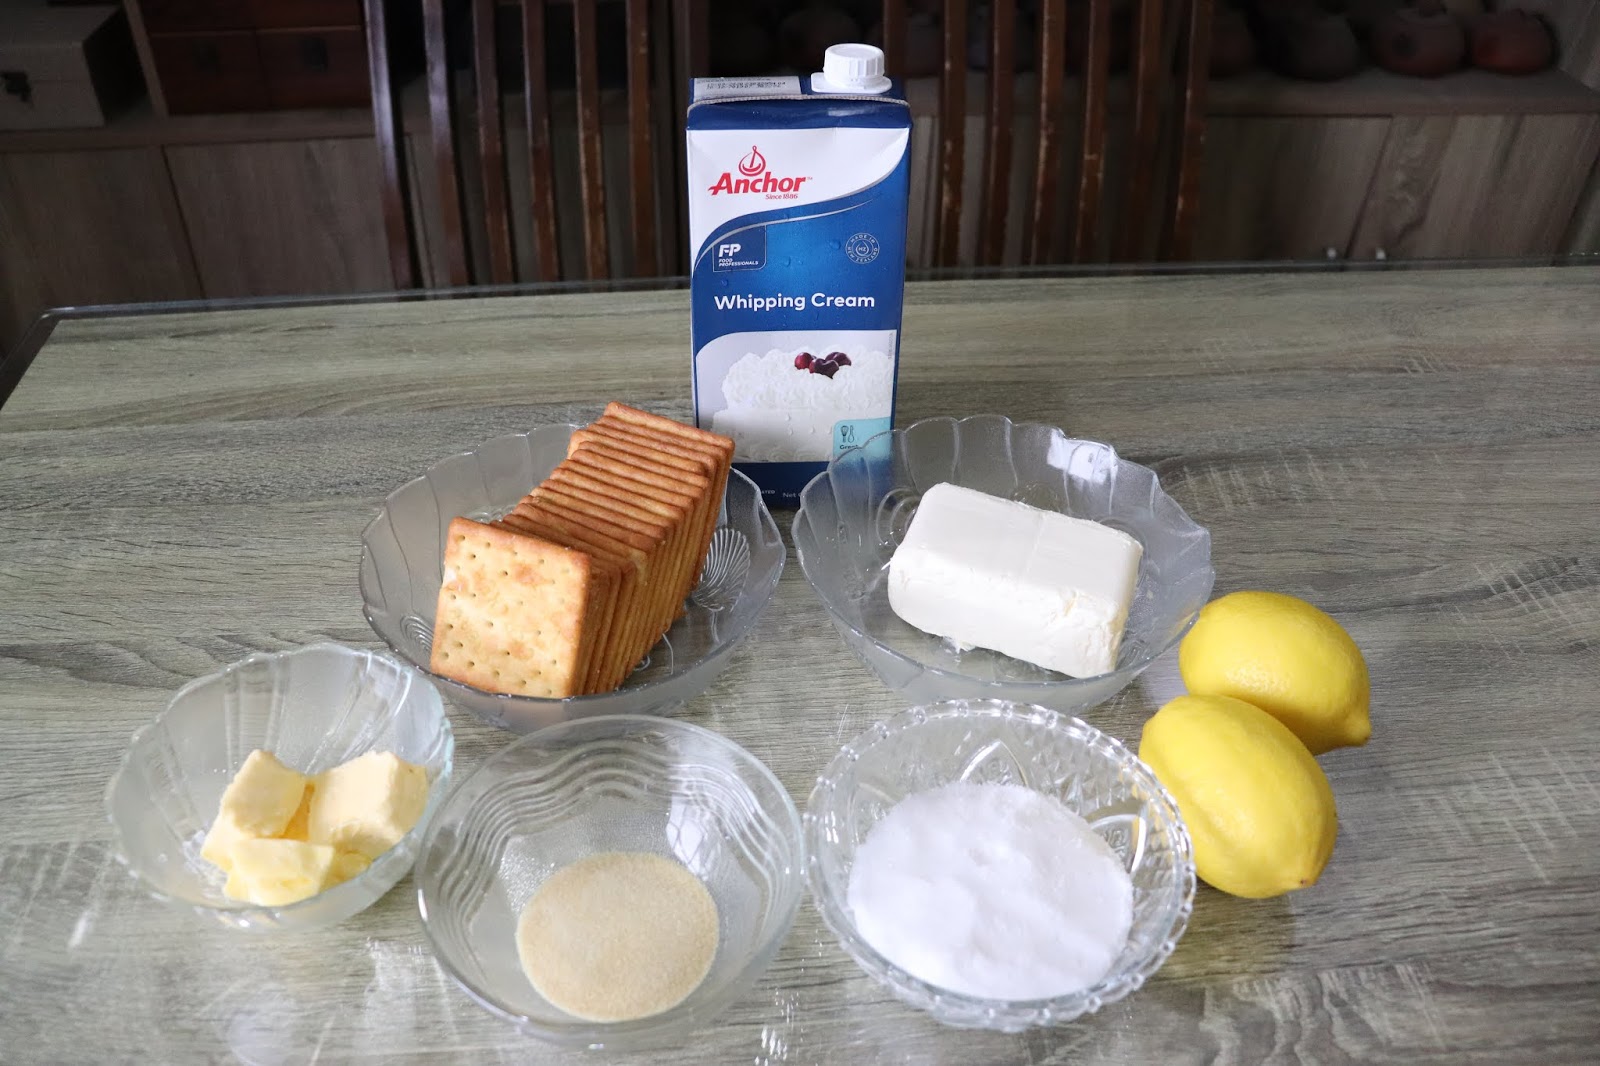
These are the ingredients of the no-bake lemon cheesecake: 

Base
  • 130g cream crackers
  • 80g melted butter
Filling
  • 250g Cream cheese 
  • 105g Castor Sugar
  • 3 teaspoons lemon juice (Approx. 15ml)
  • 2 teaspoons lemon zest
  • 3 teaspoons gelatin powder (Add 3 tablespoons of hot water to dissolve the powder)
  • 250g whipping cream


1. Prepare a 6 inch springform round cake tin. If you don't have a springform tin, you can line the base and side of the normal tin with parchment paper. 


2. Place the cream crackers into a plastic zipper bag and crush them.


 3. Mix together the crushed crackers and melted butter. Put the crackers mix into the prepared tin and use the back of a spoon or a wooden rod to push it flat. Put the tin into the fridge to chill while making the topping.


4. Finely grate the zest of 1 lemon. Squeeze out the juice until you have enough for 2 teaspoons and set aside.


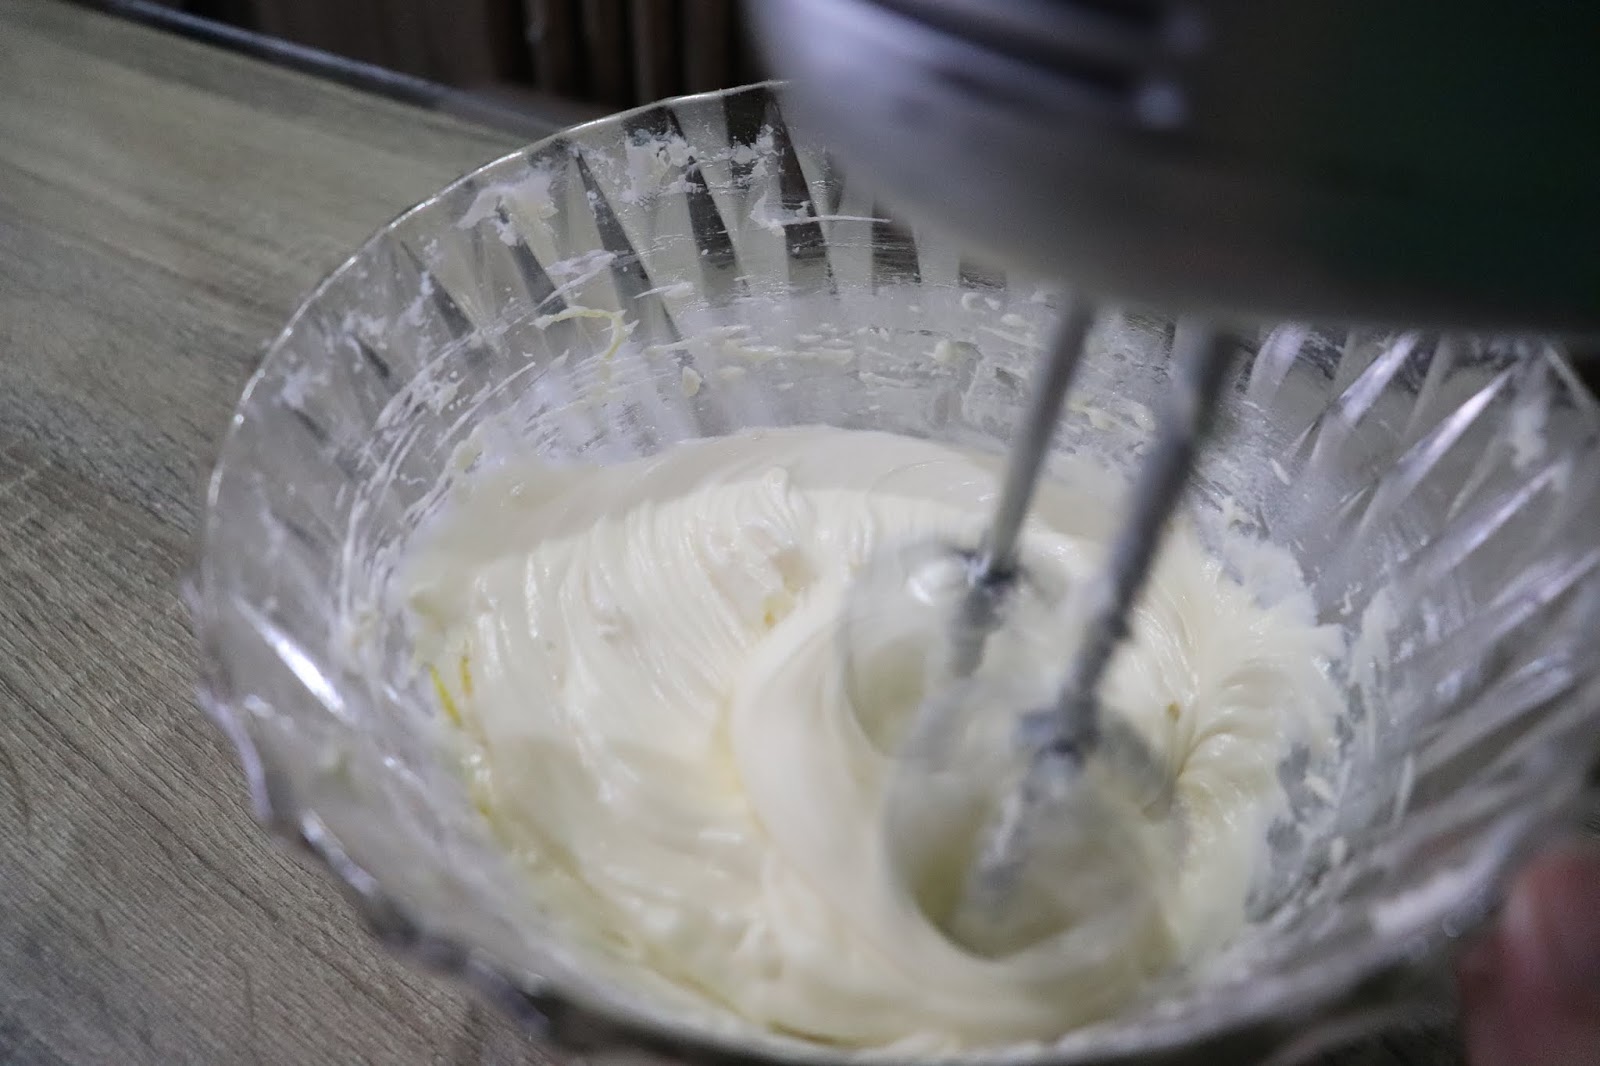
5. Whip the cream cheese with a mixer until it forms a soft peak, add caster sugar in 3 batches, whisk until the sugar dissolves after each addition. 


6. Add lemon zest and continue whisk together until combined and thick. 


7. Add the gelatin mixture and lemon juice to the mixture consequently. Dissolve the gelatin powder with 3 tablespoons of hot water in advance. Fold until they mix well. 


8. Whisk the whipping cream in another mixing bowl. Remember, don't over beat the cream. 


9. Gently fold the whipped cream into the cheese mixture.


10. Take out the tin from the fridge and pour n the mixture. Smooth the top with a palette knife. 


11. Put your cheesecake into the fridge for at least 4 hours to set fully.


12. When you're ready to serve, carefully remove the cheesecake from the tin. 


The chilled lemon cheesecake is so creamy and refreshing! It’s a wonderfully light dessert that’s easy to make and perfect for the warm weather. Try it now!